Friday, November 21, 2014

New heater successfully installed in Hambase Alpha

It is now fit for all season use. It fogs up a little inside from the condensation but the silica gel prevents it from getting too bad. (EDIT: A few hours later the condensation is gone. The silica litter just needed time to absorb the moisture I guess.) The important thing is comfort though. And not having to spend the money to heat 100 gallons of water 24/7. 


I really do prefer this habitat, it's about as good as it gets for something that's a reasonable size to use in aquariums. I urge you to copy this one if you build you own, including using a reptile heater pad like I have as it did turn out to be vastly better than those little USB pads I was using before.


Cousteau lookin' cozy as fuck:


Wednesday, November 19, 2014

New heater for Hambase Alpha

Since the old heaters stopped working (water got into the plug ports in back before I figured out I needed to seal those with silicone) I haven't been able to use Hambase Alpha in the winter as the aquarium's out in the garage and I don't feel like spending the $$$ to keep a hundred gallons of water warm all the time.

So I've ripped out as much of the old heaters and wiring as I could (cyanoacrylate glue doesn't fuck around) and this time did not make the mistake of trying to use the chemical spray that's supposed to un-cure the glue as that doesn't work for shit and basically ruined one of the old habitats I tried it on, such that it had to be tossed out. Instead I worked at it with a chisel and hammer until as much was removed as possible. Soon I'll drill a new hole for the (110v!) power cord for the new 5 watt heater pad. There will also be a layer of cardboard under it to insulate it from the habitat floor. I figure this will keep me busy while I wait for the lead weights to arrive.

I couldn't find one the exact size of the habitat floor by the way. Besides which, I don't really think heating the entire floor is a good idea. If I heat up the spot where they do their business, it'll cause the urine to evaporate into the air and all kinds of related nastiness. Also don't wanna heat the food as it accelerates decomposition. So just the center of the habitat should be fine. It's plenty of surface area for 1-3 hams and it gets very comfortably warm. I've tested it out already in the land cage and it's quite the popular place to sleep. :3

If you're building your own Ham hab at home, learn from my mistakes and use a heater pad of this type to begin with. It'll be a lot less messy than the gradual additive, subtractive, evolutionary process of designing and redesigning Hambase Alpha that I've been through so far.

At right: Bonus pic of a hambro testing out the heater pad under his travel carrier. :'3 :'3

Tuesday, November 18, 2014

Some bad news, some good.

Bad news: The ballast containers aren't coming. The website I ordered them from listed them as in stock but the guy didn't actually have any. They're discontinued and hard to find, so he refunded the money.

The good news: I used that money instead to buy all of the lead weights I'll need. So, barring some problem with the order, all I need now is to find an affordable source for 3x Otterbox 3500 in black.

Sunday, November 16, 2014

Ballast pods ordered!

Thanks to an astonishingly generous $100 donation I was able to purchase three black Otterbox 3500s needed to hold the lead block weights, which will weigh down the new habitat. The leftover amount will be used to buy the water bottle and running saucer. I still need money for the weights, but I'm sure that'll happen at some point.

Anyway, thanks for enabling my flagrant mental illness which for whatever reason manifests as the urge to build functioning scale model underwater cities for rodents! You know who you are. I really appreciate every donation, big or small. This is a weird hobby but very fun to do and evidently fun to spectate. I'll keep doing it as long as I am able to.

Monday, November 10, 2014

Going nowhere fast unless something changes

I'm about to put in the skylight. A bunch of real life shit got in the way, sorry for the delay. But in the process of figuring out what order to do the steps in, I've realized a couple things.

1. This thing is going to be very hard to weigh down. It is likely to need three ballast pods, each twice the depth of the ones Hambase Alpha uses so I can pack in 4 lead block weights per pod. That's 60lbs total.

2. This hobby stays affordable only when the habitats are small. Cost increases non-linearly with habitat interior volume mostly due to the cost of lead. The current habitat is likely to be the largest single module I ever build. I'm also gonna need help buying the ballast pods and block weights in particular. If you're on the fence about funding this weird shit, now's the time.

3. It will not fit in the aquarium. I mean, if I saw away all the acrylic around the top I can get it in there but the roof of the thing will be just inches from the water's surface. Really not much point then. I will need to find either a very clear natural body of water to deploy this into, with access to grid power nearby or get one of those big partially inflatable above ground pools to stick it in.

At some point I'd like to build a new Hambase Alpha as well. Learning from the handful of small mistakes I made with the design of the first one. And this time I'd document every step of construction, for the purpose of publishing an instructable so you guys can build you own. This comes after the completion of the new huge habitat however. That's really sucking up resources atm.

Bonus render of Ham colony to the right. The running saucer will fit on the top floor, I think. If not, it'll go on floor 2 and the top floor will have a sort of crescent cut out of it to accommodate the tallest part of the saucer. The black thing on the bottom floor is the heater pad. Oversized water bottle because this thing will eventually be intended for very long submersions, at depths up to 8 feet. If hamsters could coexist (they can't) I'd rate this for between 6 and 10 of 'em. Mice would do a lot better in those numbers.


Wednesday, September 3, 2014

Lexan skylight purchased.

Along with the nuts and bolts I need to mount it. I'll be using cyanoacrylate glue to seal it. Man am I nervous about drilling into the enclosure lid! I don't know what type of plastic it is. Some kinds are just fine being drilled/dremeled. Others are brittle and crack/shatter when you do that. If it does crack, it isn't as though I can just buy a replacement lid, it's part of the enclosure. I'd be out $200. Crossing my fingers.

Also! I've gotten new filter cartridges and something called algae gone which should halt algae growth from now on. That's been a huge pain in my ass, so I hope this stuff works.

Thursday, August 28, 2014

Preparing to buy lexan skylight for enclosure lid

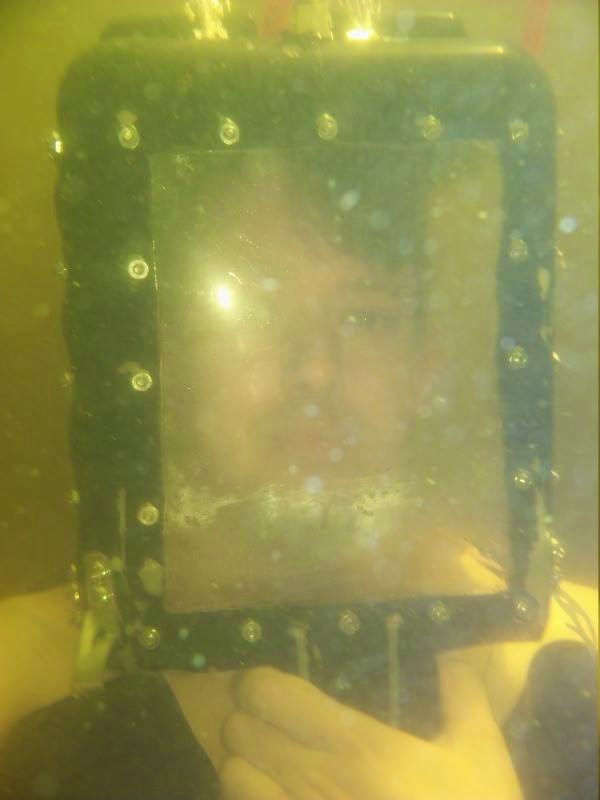
Just returned from one month vacation to Minnesota. Much of which I spent at the bottom of a lake:


The helmet 'lives' at the lake cabin now as that's really the only place I have easy access to both a large body of water and nearby grid power for the compressor. If I ever put together what I need for the vast modular colony of 100+ hambros I'm envisioning it will necessarily be in that lake, receiving power for the air compressors and heating pads (and lights?) from the cabin.

The 200 feet of air hose let me get far enough from shore that I was perhaps 20 feet down, and it was very serene just to set up a chair down there, sit in it and wait for the initial disturbance to settle so that marine life would resume its normal routines around me. Despite the poor vis I had a number of fish come right up to me, presumably too baffled by my presence to be frightened. Had some very interesting thoughts down there, and saw some troubling shadows.

Will resume work on new habitat shortly, stay tuned.